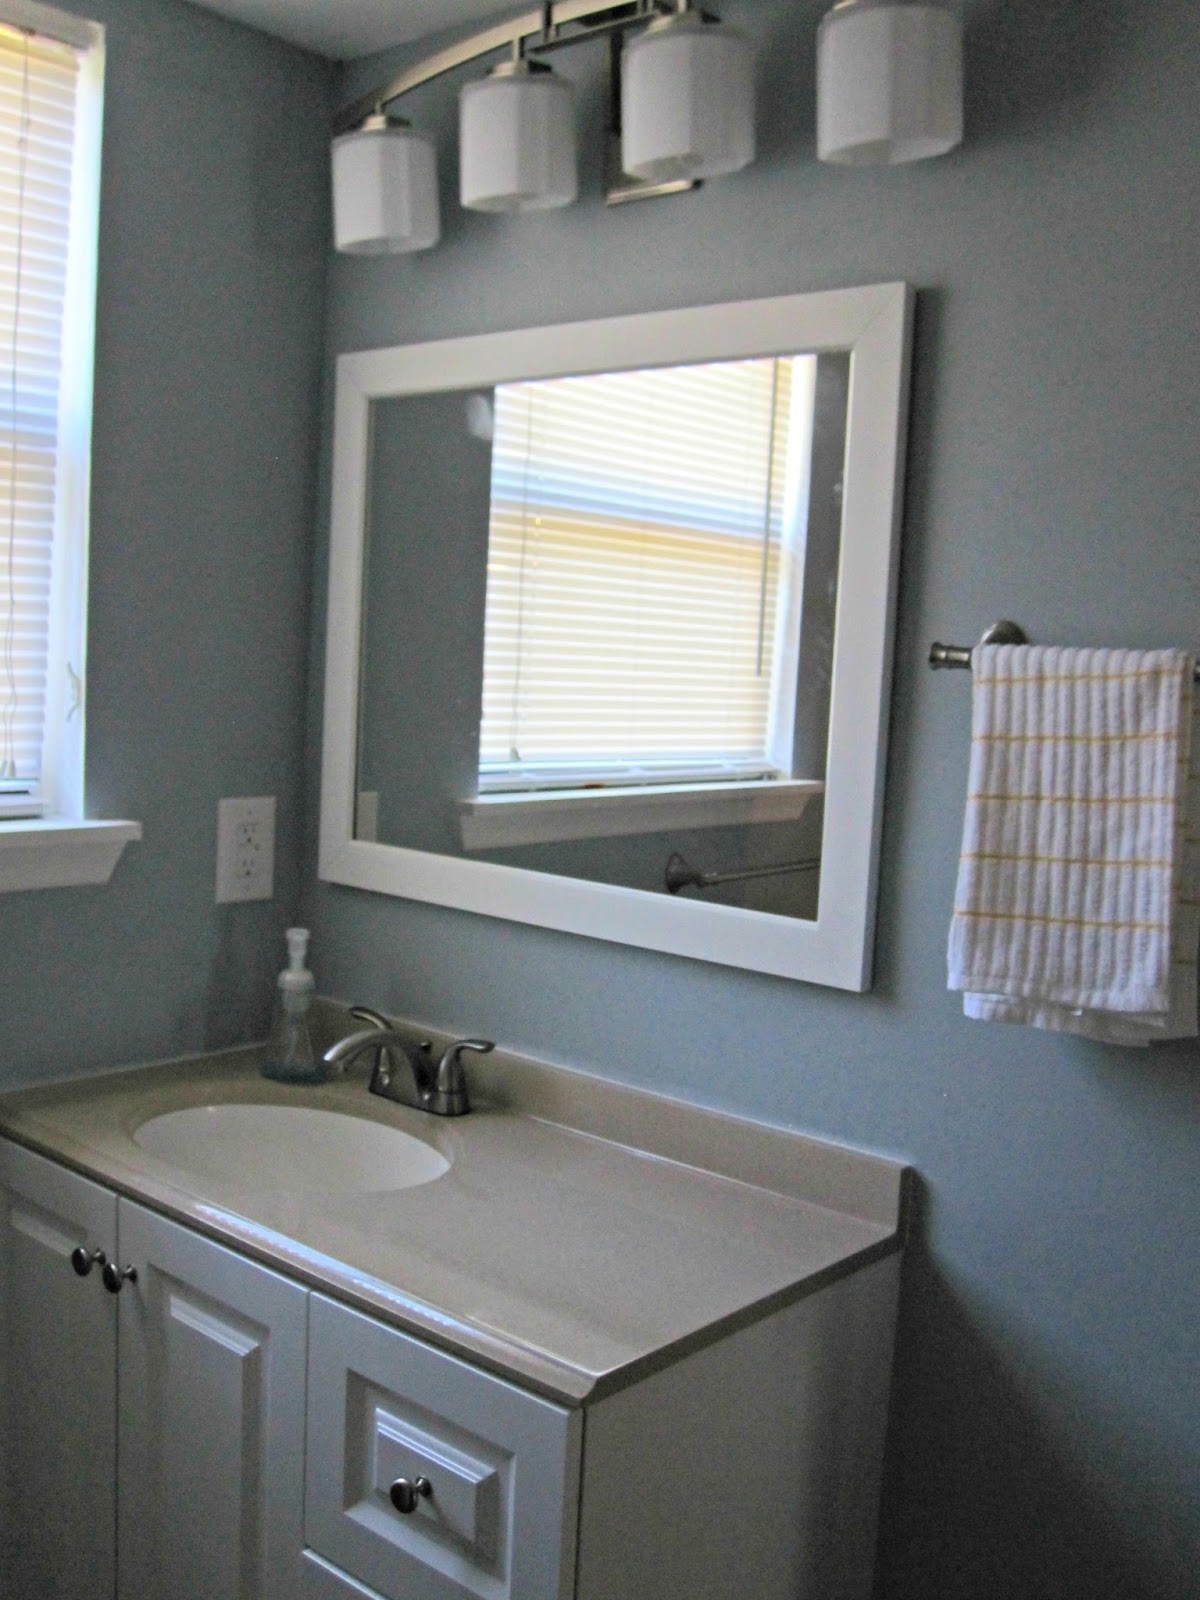
The first room we decided to do was our bathroom downstairs. It is the smallest room so we figured it would be the easiest. Boy, were we wrong.
It is the smallest room in the house but it was also the ugliest. The walls were painted a horrible dark salmon color. Not only were they painted an atrocious color but they were painted over wallpaper that someone had attempted to remove but damaged the sheet rock. The walls were awful. The vanity was original to the house and a dark brown color. Years of abuse were very apparent in water damage and leaky faucets among other things. The dark colors and the dirty popcorn ceilings made the small space feel even smaller.
First thing we did was gut the bathroom. We took out the vanity, mirror, light fixture and toilet. With the space completely empty we went to work on the walls and ceiling. We got lucky on one wall that had all the wallpaper still intact. When we started to peel the paper back it came off cleanly. The rest of the walls were not so easy. We tried a few different paint removers and tediously scraped and peeled off the paint.
Once the walls were cleared of paint and the ceilings popcorn free we started mudding. Mudding is so much fun! (Sarcasm font) We mudded and sanded and mudded and sanded and really should have mudded and sanded some more. It was crazy how much work it was to get such a small room ready for paint.
When experimenting with paint remover I accidently spilled some in the shower. Not a big deal except some didn't get cleaned up and it ate away the shower. I was pretty upset with myself for adding yet another project to our list. After doing a little research we decided that replacing the shower was way more than we wanted to spend and for less than $10 we could get a putty that would patch the holes and be sanded smooth. Of course it was dark grey in color so we needed more to the fix but more on that in the next blog.
Another problem with the bathroom was ventilation. Neither of our bathrooms had fans. Personally I think a bathroom fan is a must, especially when we live in such a humid climate. The problem with installing a ceiling fan in the bathroom is trying to figure out how to run the wiring to the switch and the ducting to the outside without a crawl space to work in.
We figured out a solution: go through the stairs. Easiest room in the house and we had to take out a stair. It worked great for us to run wiring by reaching through the open step.
We got flexible ducting and while Meric shoved it through the hole outside I pulled it through the hole inside. (I don't think we have had a home yet that Meric didn't drill a hole through for one reason or another.)
With the wiring and ducting ran we were ready to install a fan and put the bathroom back together.